
Roof penetrations are the places where pipes, vents, chimneys, skylights, antennas, and other objects pass through the roof surface. Each opening interrupts the roofing system, so it needs carefully layered protection against rain, melting snow, wind-driven moisture, and ice buildup.
In Fort Plain, NY, roof sealing deserves extra attention because freeze-thaw cycles, heavy snow, spring rain, and summer heat can all stress flashing and sealants. A small gap around a pipe may not leak immediately, but repeated seasonal movement can turn it into interior staining, wet insulation, or hidden wood damage.
What counts as a roof penetration?
A roof penetration is any object or assembly that passes through the roof covering and creates an opening in the weather barrier. Common examples include:
- Plumbing vent pipes
- Chimneys and masonry flues
- Bathroom and kitchen exhaust vents
- Skylights
- Roof-mounted antennas or satellite equipment
- Electrical service components
- Furnace or boiler vents
- Solar equipment supports
- Dormers and other roof-to-wall transitions
These areas are not sealed by simply spreading caulk around the object. Proper protection usually involves flashing, underlayment integration, fasteners, and a compatible sealant.
Why do roof penetrations leak?
Most leaks around penetrations result from damaged flashing, incorrect installation, exposed fasteners, or sealant failure. The roof covering itself may still appear to be in good condition.
Common causes include:
- Cracked or shrinking sealant
- Rusted or split metal flashing
- A rubber pipe boot that has become brittle
- Flashing installed beneath the wrong roofing layer
- Nails placed where water can collect
- Ice movement or snow sliding against the penetration
- Repairs made with incompatible materials
- A vent or chimney that moves independently from the roof
Sealant is often blamed first, but it is not always the primary waterproofing layer. Caulk can close a narrow joint, but it cannot compensate for missing or poorly arranged flashing.
How should a plumbing vent pipe be sealed?
A plumbing vent pipe is normally sealed with a manufactured flashing boot designed for the pipe’s diameter and the roofing material. The upper part of the flashing should sit beneath the roofing course above it, while the lower portion remains over the roofing below it. This arrangement allows water to flow downhill across the flashing instead of behind it.
A proper installation generally includes:
1. Removing enough roofing material to inspect the area.
2. Sliding the upper edge of the flashing beneath the surrounding shingles or other roof covering.
3. Placing the lower edge over the roof covering below the pipe.
4. Securing the flashing with appropriate roofing fasteners.
5. Sealing exposed fastener heads and the upper edge where required.
6. Confirming that the rubber or metal collar fits tightly around the pipe.
A boot that is cracked, warped, or pulling away from the pipe should generally be replaced rather than covered with another layer of sealant. Applying caulk over a deteriorated boot may delay the leak but does not restore the damaged component.
How should chimneys and larger openings be protected?
Chimneys require a more complex flashing system than small pipes. The usual arrangement includes base flashing at the lower edge, step flashing along the sides, and counterflashing set into the masonry or installed as part of the chimney assembly.
The counterflashing must direct water over the step flashing. Mortar joints, masonry cracks, and gaps at the chimney-to-roof transition can also allow water to enter. Smearing roofing cement over the entire joint is not a reliable substitute for properly fitted metal flashing.
Older homes in the community may have masonry chimneys, additions, or roof sections built at different times. Those transitions deserve careful inspection because settlement and seasonal movement can open gaps that were not present when the roof was installed.
What is the correct way to seal a skylight?
A skylight should be protected by a complete flashing system that matches the skylight design and roofing material. The flashing is usually installed with the roof underlayment so water that gets beneath the roof covering can still drain outward.
Leaks may come from:
- Damaged step flashing
- Blocked drainage channels
- Failed seals around the skylight frame
- Improperly installed underlayment
- Condensation mistaken for a roof leak
- Roofing material placed too tightly against the skylight
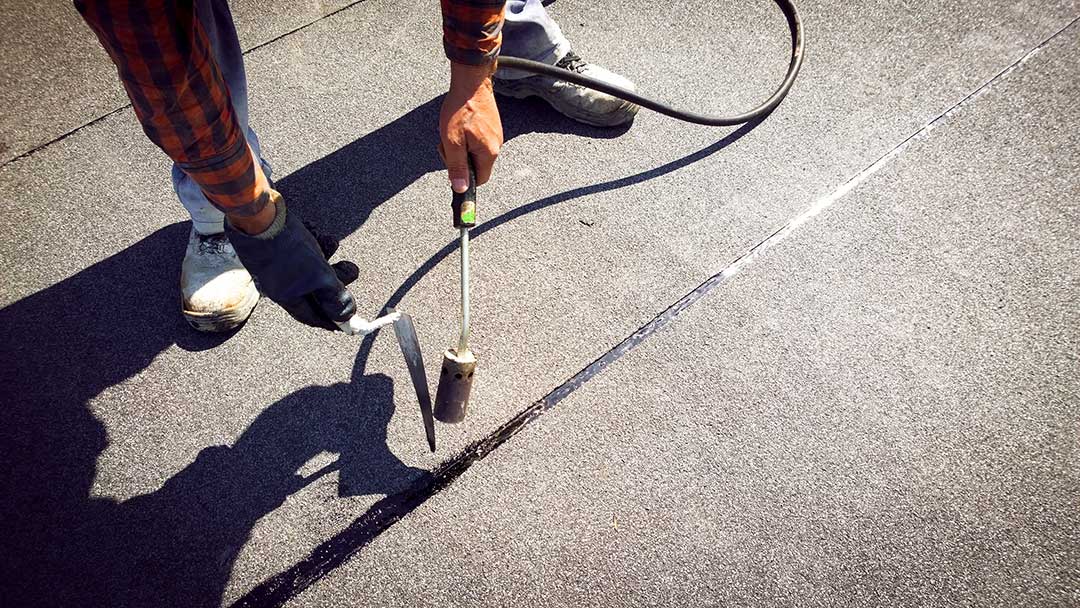
Do not rely on surface caulk around the outside frame as the main waterproofing method. Sealant may be useful at specific joints, but the flashing and underlayment should carry most of the water-management responsibility.
Which sealant should be used?
The correct sealant depends on the roof material, flashing metal, temperature, and location of the joint. A product that adheres well to one surface may fail on another.
Important considerations include:
- Compatibility with asphalt roofing, metal, rubber, or masonry
- Ability to remain flexible during freezing temperatures
- Resistance to ultraviolet exposure
- Adhesion to clean, dry surfaces
- Whether the joint is exposed to standing water
- Manufacturer limitations for the specific roofing assembly
Surfaces should be cleaned of loose granules, dirt, rust, and old failing sealant before application. Sealant should be applied to a sound joint in a continuous, controlled bead. A thick mound of caulk is not necessarily more protective and may trap moisture or separate as it cures.
Can roof penetrations be sealed during cold weather?
Some repairs are possible in cool weather, but many sealants and roofing materials perform poorly on icy, wet, or very cold surfaces. In Fort Plain, winter conditions can make temporary repairs unreliable because snow, frost, and frozen materials prevent proper adhesion.
Before any repair, the area must be dry and safe to access. A temporary cover may reduce active water entry during severe weather, but it should not block drainage or create a new hazard. Permanent repairs are more dependable when materials can bond and cure within their required temperature range.
What should be checked after sealing?
A repair should be inspected from both the roof and the attic when conditions allow. Look for:
- Water stains or damp insulation below the penetration
- Darkened roof decking
- Soft or deteriorated wood
- Rust on nails or metal components
- Gaps around pipe collars and flashing
- Sealant that has split, pulled away, or blistered
- New staining after rainfall or snowmelt
Water can travel along rafters, roof decking, insulation, or wall framing before appearing indoors. The location of an interior stain may therefore be several feet away from the actual opening.
When is a roof penetration unsafe to repair personally?
Roof work becomes hazardous when the surface is wet, icy, steep, fragile, or close to electrical equipment. Chimneys, skylights, and older roofing materials may also require specialized procedures. Anyone inspecting a penetration should avoid stepping directly on skylight panels, brittle roofing, or unsupported flashing.
If the roof structure feels soft, the penetration is near overhead power lines, or water is entering around electrical wiring, safety takes priority over a routine sealant repair. A qualified roofing or building professional may be necessary when the problem involves structural damage, chimney masonry, complex flashing, or a roof system that cannot be safely accessed.
Regular visual checks from the ground or attic can identify cracked pipe boots, displaced flashing, and staining before a small opening becomes a larger moisture problem. In a climate with snow, ice, and repeated temperature swings, sound flashing and correctly integrated underlayment are more dependable than caulk alone.